MCP Setup
Three common MCP clients (Claude Desktop, Claude Code, and the MCP Inspector) each have a slightly different way to register a local MCP server. This page walks through all three.
Prerequisites
-
Octa must be installed and on your
PATH. Verify with:If you get "command not found", either move the binary somewhere on
PATH(/usr/local/bin/,~/.local/bin/,C:\Program Files\Octa\) or use the full path in the configurations below (/home/you/octa/target/release/octa,C:\Tools\octa.exe, etc.). -
Confirm
--mcpstarts the server:You should see a one-line startup banner on stderr:
Press Ctrl+C to stop. Stdout is reserved for JSON-RPC traffic; you won't see anything on stdout unless an MCP client is talking to it.
Read-only mode
Add --mcp-read-only to expose a read-only tool surface: every
file-writing tool is omitted from the server, so an agent wired to Octa
can inspect and query data but cannot modify files. The dropped tools are
write_table, write_workbook, edit_table, convert, batch_convert,
transform_columns, anonymize, hash_columns, partition_table, create_report,
harmonise_schemas, write_db_table, copy_db_table, export_db_tables,
copy_object, move_object and delete_object.
Every other tool stays available, including the read-only analytics
(pivot, correlation, grep_files) and list_objects. For cloud
objects this is also the only write gate: with --mcp-read-only the
server can read from s3:// / az:// / gs:// / sftp:// / davs://
URLs but never write
back to them.
The startup banner notes the mode:
Use it in any client config by appending the flag to args, e.g.
"args": ["--mcp", "--mcp-read-only"].
Advertising fewer tools
Octa exposes around 70 tools, and their descriptions and schemas are
roughly 39,000 tokens. An MCP client reads that list once and then
carries it in every request it makes to its model, so a server you
only use for reading Parquet files is still charging you for
fuzzy_join and detect_pii on every message.
--mcp-tools advertises only what you name. It takes group names and
individual tool names, comma-separated:
octa --mcp --mcp-tools core                 # reading, schemas, search, SQL
octa --mcp --mcp-tools core,databases       # ... plus the live-database tools
octa --mcp --mcp-tools read_table,run_sql   # exactly two tools
--mcp-without is the other direction, and the two combine:
octa --mcp --mcp-without cloud,write        # everything except those groups
octa --mcp --mcp-tools core --mcp-without run_sql
The groups are:
| Group | ~Tokens | Tools |
|---|---|---|
core |
~6,000 | read_table, tail, sample, schema, list_tables, count_rows, run_sql, search, profile, value_frequency, describe_file, grep_files |
quality |
~5,000 | find_duplicates, fuzzy_duplicates, unique_columns, detect_outliers, detect_pii, check_rules, validate_against_schema, check_references, correlation, compare_distributions |
compare |
~2,900 | compare_schemas, diff_tables, data_drift, schema_drift, export_schema, compare_folders |
combine |
~4,000 | union_tables, join_tables, fuzzy_join, suggest_join_keys, diagnose_join, harmonise_schemas |
reshape |
~6,000 | pivot, resample_timeseries, rolling_window, drop_duplicates, fill_missing, transform_columns, anonymize, hash_columns, partition_table |
databases |
~3,000 | list_db_connections, list_db_tables, db_relationships, query_db, sync_sql, write_db_table, copy_db_table, export_db_tables |
cloud |
~1,300 | list_objects, copy_object, move_object, delete_object |
write |
~5,100 | write_table, write_workbook, edit_table, convert, batch_convert, create_report |
The token figures are measured from the tools' own descriptions and schemas, so they shift a little between releases. Every tool, what it does and which group it is in is listed in the tool reference.
A tool that is not advertised is also not callable: an agent that knows the name from somewhere else gets an error, not a result.
A name Octa does not recognise stops the server rather than starting one with a surface you did not intend:
$ octa --mcp --mcp-tools kwality
error: unknown tool or group `kwality`. Groups: core, quality, compare, ...
The startup banner says how many tools were hidden:
In a client config this is just more args:
Why a flag and not a setting
An MCP server is started by its client, from that client's own config file, and two clients pointed at the same Octa install often want different surfaces: a coding agent that should only read Parquet, a data agent that needs the database tools. A flag lives in exactly that per-client config. A global setting would apply to every client at once, which is the wrong shape for the problem.
It is also read once, at startup, because that is when a client asks for the tool list. Changing the flags means restarting the server, which the client does for you when you edit its config.
This is separate from the in-app assistant
Octa's own chat assistant has its own per-tool switches in Settings, and it loads tool groups on demand during a conversation. That is possible because Octa builds those requests itself. Over MCP the client holds the tool list and decides what to send its model, so the flags above are the equivalent lever, and they are read once at startup.
Claude Desktop
Claude Desktop reads its MCP servers from claude_desktop_config.json:
| Platform | Path |
|---|---|
| Linux | ~/.config/Claude/claude_desktop_config.json |
| macOS | ~/Library/Application Support/Claude/claude_desktop_config.json |
| Windows | %APPDATA%\Claude\claude_desktop_config.json |
Open the file (create it if it doesn't exist) and add octa to the
mcpServers block:
If octa isn't on PATH, use the full path:
The AppImage works the same way: point command at the AppImage
file directly. No extraction, no wrapper script, no separate
install step. The same single-file binary that opens the GUI also
serves as the MCP endpoint.
Give it permission to run first (chmod 750 Octa-*-x86_64.AppImage).
Without it the client cannot start the server, and what it reports is a
bare permission error rather than anything pointing at the cause.
Save the file and restart Claude Desktop. You should see the hammer icon (🔨) in the conversation window; click it to confirm Octa's tools are listed.
Try a prompt:
What columns does
/path/to/data.parquethave?
Claude should call schema and report the result.
Claude Code
Claude Code registers MCP servers with claude mcp add. No config file
to edit:
The bare -- separates Claude Code's own flags from the command it
should spawn. Everything after it is the command line Octa is launched
with, so octa --mcp is what actually runs.
Choosing a scope
claude mcp add writes to one of three scopes. Without --scope you
get local, which only applies in the directory you ran the command
from. That is rarely what you want:
# Every project, just for you (the usual choice)
claude mcp add --scope user octa -- octa --mcp

# This project only, checked into the repo as .mcp.json
claude mcp add --scope project octa -- octa --mcp

# This project, just for you (the default if --scope is omitted)
claude mcp add --scope local octa -- octa --mcp
Use project scope when you want the server to travel with the
repository, so anyone who clones it picks Octa up automatically. Use
user scope for a personal setup that follows you everywhere. -s is
accepted as a short form of --scope.
Read-only registration
Append --mcp-read-only to drop the file-writing tools (see
Read-only mode above). It goes after --mcp, on
Octa's side of the --:
Registering fewer tools
--mcp-tools and --mcp-without go in the same place, after --mcp
on Octa's side of the --. See
Advertising fewer tools for what the
group names mean:
Claude Code stores the whole command line, so there is no config file to edit afterwards. Changing the flags on a server that is already registered means removing it and adding it back:
claude mcp remove octa --scope user
claude mcp add --scope user octa -- octa --mcp --mcp-tools core,databases
Restart Claude Code after either, since the tool list is read once at
startup. claude mcp list shows the stored command line, so it also
tells you which flags a registration actually has.
Verify
This runs a health check against each registered server, so a broken
command path shows up immediately rather than at first use:
Start a new Claude Code session (existing sessions do not pick up newly
registered servers) and the tools appear namespaced as
mcp__octa__read_table, mcp__octa__run_sql, mcp__octa__schema, and
so on. Then ask things like:
Use the octa MCP server to read the schema of
tests/fixtures/sample.csv.
Removing
Multiple Claude Code configurations
claude mcp add writes into whichever configuration directory is
active, which CLAUDE_CONFIG_DIR controls. If you run more than one
Claude Code identity from separate config directories, register Octa
once per directory. claude mcp list always reports the active one.
MCP Inspector
The MCP Inspector gives you a web UI for exploring an MCP server: list tools, fill in parameters via forms, see raw JSON responses. The best way to verify a server works without involving an AI client at all.
This spawns Octa under Inspector's control, opens a browser tab, and shows you every tool plus an interactive form for each.
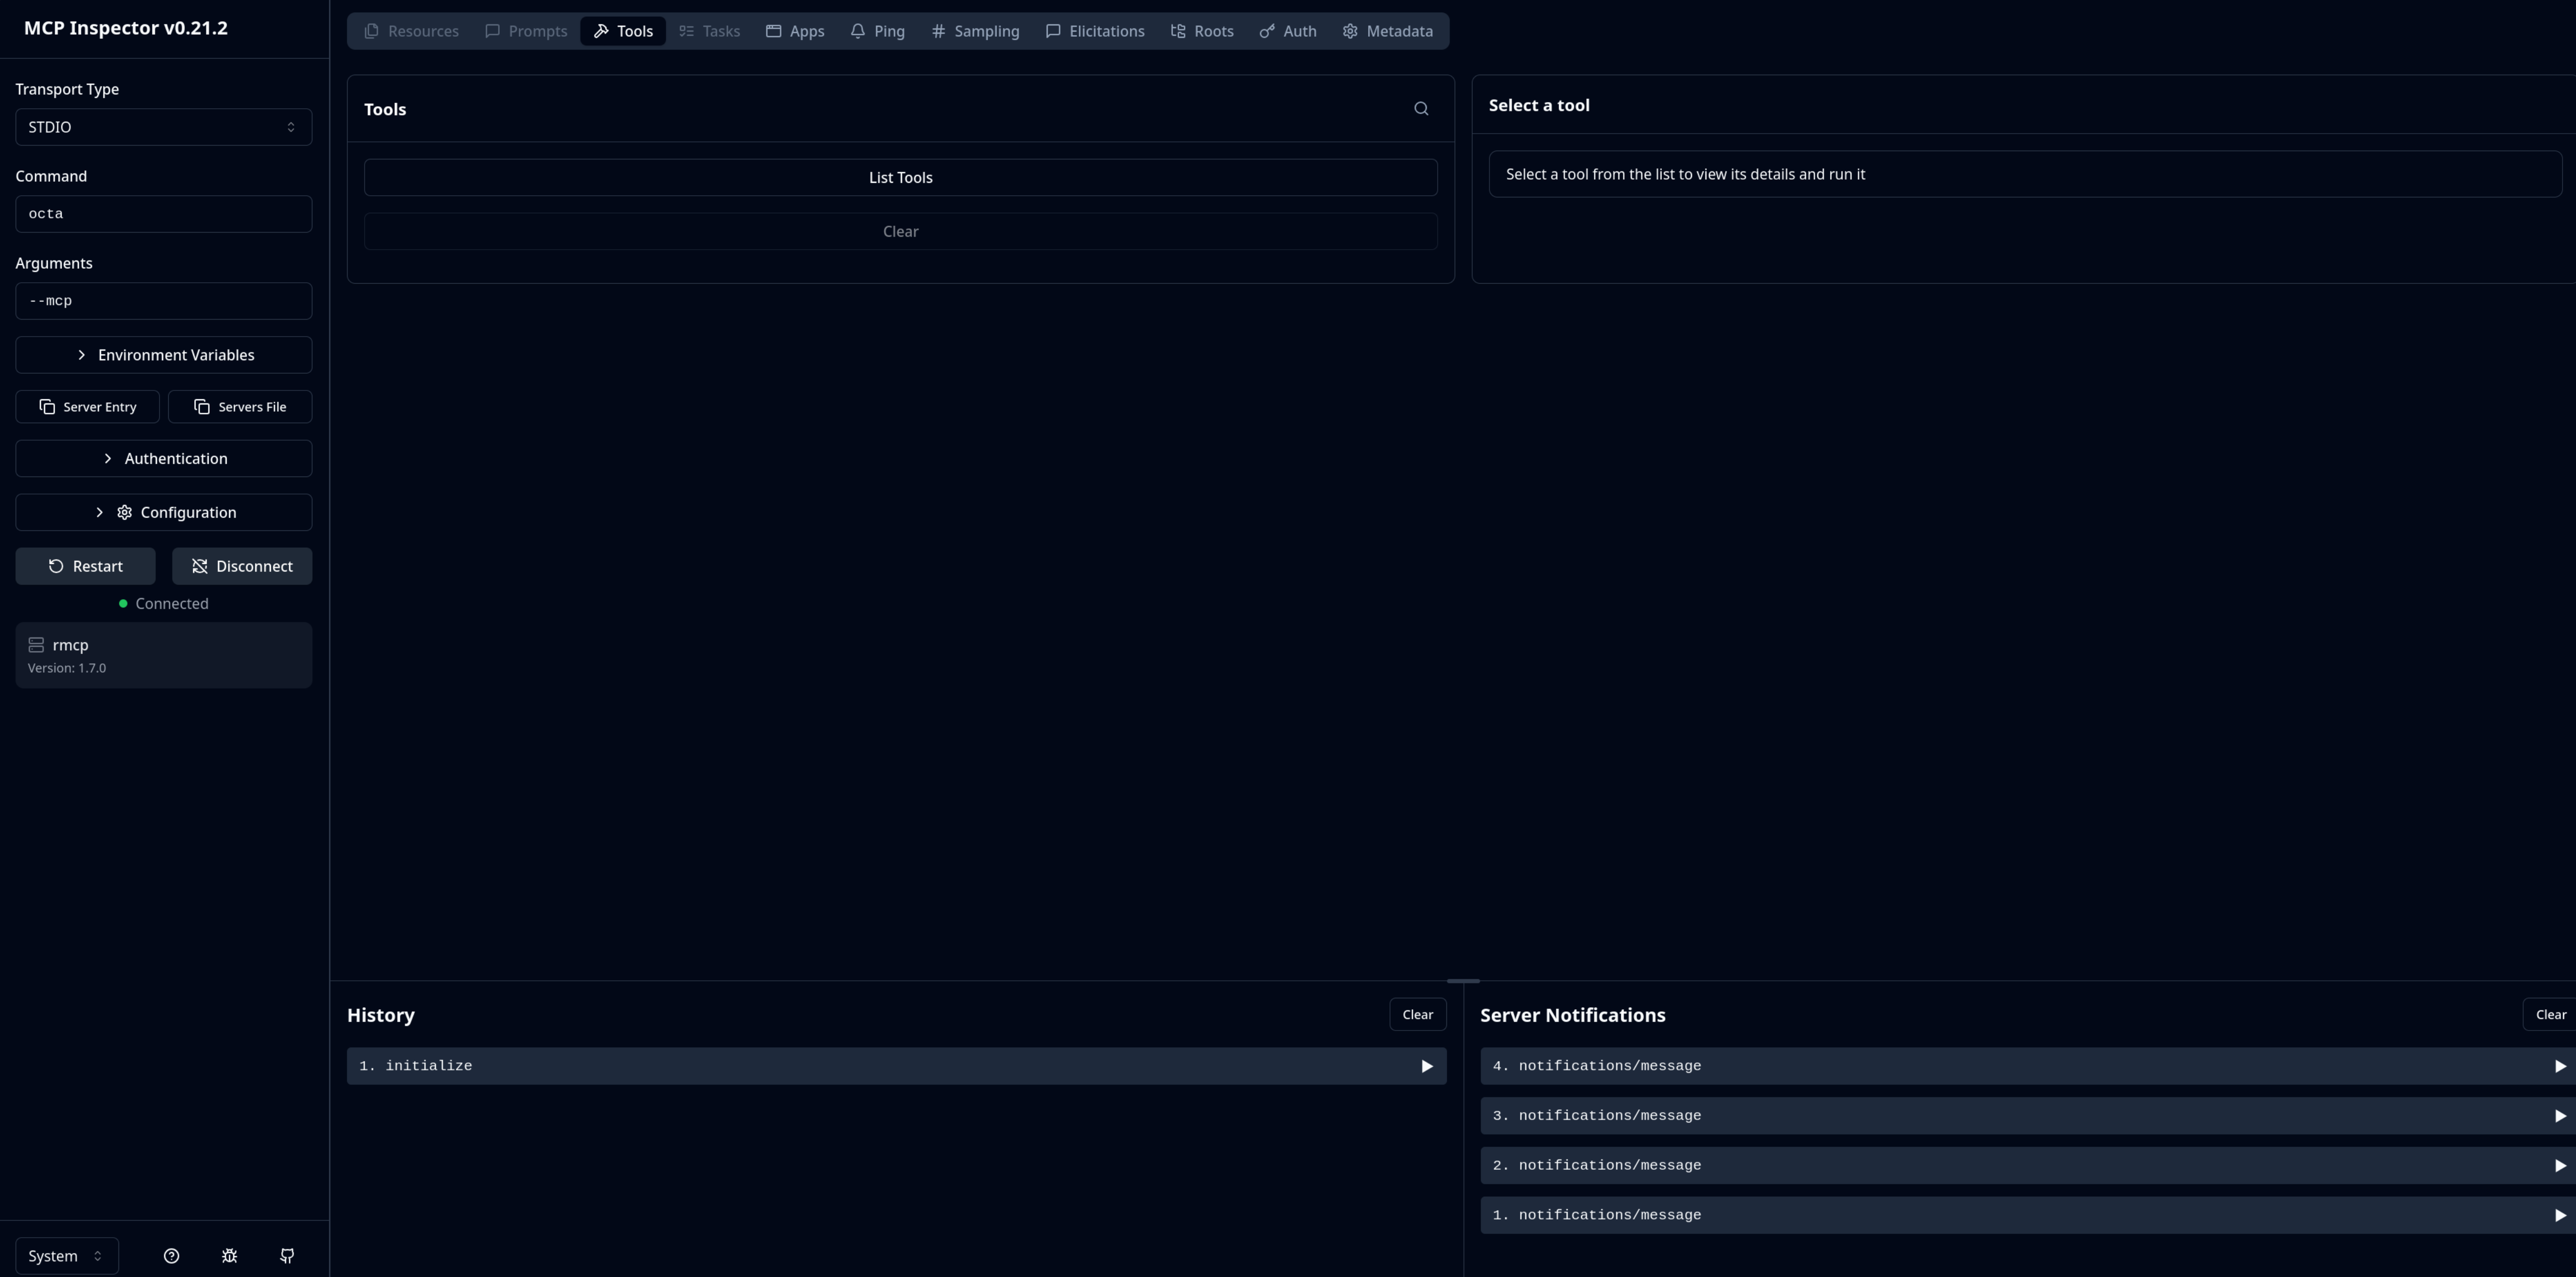
Requires Node.js (and npx) on your PATH. The Inspector is the
fastest path to "does my Octa MCP setup work?"
Other MCP clients
Any client that supports stdio-spawned MCP servers works with Octa. The pattern is always:
- command:
octa(or the full path to the binary or AppImage) - args:
["--mcp"] - transport: stdio (the default; no special config needed)
Refer to your client's documentation for the exact config syntax; the entries above are representative.
Distribution formats
octa --mcp works with every distribution Octa publishes:
- Plain binary off the releases page (
/usr/local/bin/octa,~/.local/bin/octa, or anywhere onPATH). install.shinstall (system-wide or user-local).- AUR packages (
octa,octa-bin). - AppImage (
Octa-*-x86_64.AppImage), pointed at directly as thecommand.
No wrapper script or extra installation step is needed in any case: the same binary that opens the GUI also serves as the MCP endpoint.
After setup
Once Octa's tools show up in your client, configure the limits under Octa's GUI (Settings → MCP):
- Default response row limit: 1000 by default. Set higher (or Unlimited) for analytics workflows where Claude needs to see whole tables.
- Per-cell byte cap: 65,536 by default. Lower if a BLOB column is consistently bloating responses.
The streaming file-loader cap lives under
Settings → Performance → Initial-load row cap
and defaults to 2,000,000 rows; an Unlimited checkbox next to
the input disables it entirely. Per-MCP-call, pass unlimited: true
to any read-bearing tool to lift this cap for that call only.
Settings are read once at server startup. After changing them in Octa, restart your MCP client (or just the Octa server process) for them to take effect.
See also
- Tools reference covers what each tool does and the input schemas.
- Limits & truncation covers how Octa keeps responses bounded.
- Troubleshooting covers common setup failures.